
Thank you for visiting the RAMCHECK web
site, the original portable memory tester.
RAMCHECK LX PC Communications Program Installation Guide
The RAMCHECK LX communications program is included on the CD that that was packaged with your tester. If you have downloaded this program from our web site, please unzip the contents of the "ramcheck_lx.zip" into a temporary directory and run the "setup.exe" file.
Do not connect RAMCHECK LX to the PC's USB port until
you have finished the program installation.
The installation performs two processes which are automatically performed by
the "setup.exe" routine. The first is the installation of the PC
communications program, followed by the USB driver installation.
When you first insert the CD into your PC the installation program will
self-load and the following window will appear. You will see four selections:
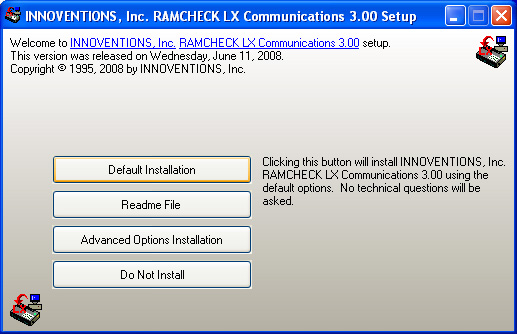
We recommend that you first read the Readme file. The "Default
Installation" will install the program in the standard "program
files" directory and is the recommended selection. "The Advanced
Options Installation" allows you to select a different directory from the
default that the components will install in along with a detailed list of the
files being installed.
Once you click the "Default Installation" tab the following window
will appear.
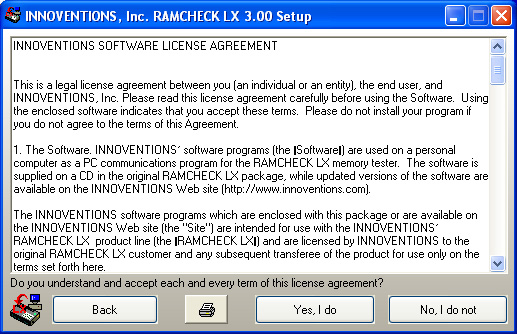
After reading and accepting the license agreement simply click on the "Yes, I Do" button to move on to the next installation screen shown below.

Clicking on the "Proceed" button will install only the RAMCHECK LX PC Communications files. Once the Program files have been installed the following window will pop up to give you the option to install the USB driver.
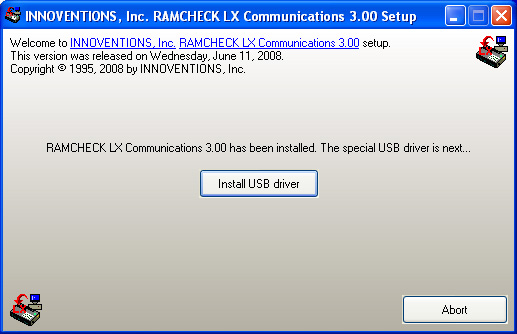
Clicking on the "Install USB driver" button will install the required
USB driver for the RAMCHECK LX. This driver is supplied by FTDI and you can get
more information by visiting the following link:
http://www.ftdichip.com/Documents/AppNotes/AN232R-04_CDM.pdf
This USB driver is used by many other devices so it may already be installed on
your computer. Although you can abort the USB installation, we recommend that
you proceed with the installation since getting a newer version of the driver
will not interfere with your other devices.
Once the installation begins a DOS command line pops up as shown in the
following window:
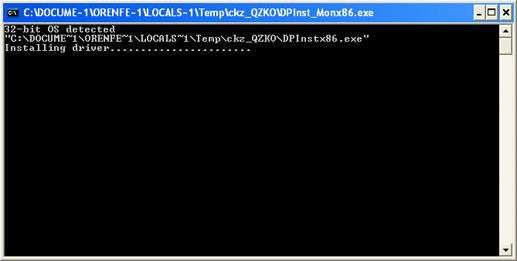
If your computer does not have these drivers already installed then the
installation will take about 2 minutes, but with most computers it should take
about 15 to 45 seconds.
Once the window disappears the installation is complete.
Next click on the RAMCHECK LX icon in the Windows Desktop.
Connect your RAMCHECK LX to your computer using the USB cable included with the
package and turn RAMCHECK LX on. For the first time, you should see the
"New Hardware Found" in the Windows Desktop, although the computer
will adjust itself automatically. After Windows detects and installs the USB
drivers, simply click on the "FIND" button at the top of the software
window to see if the PC Communications software detects the RAMCHECK LX.
If the RAMCHECK LX is not detected, please click on the "USB Status"
button at the top and far right to restore the connection and try the
"Find" again. If it shows connection then you are ready to use your
unit.
Please note: If you have more then one RAMCHECK LX you will get the "New
Hardware Found" message the first time you connect each new RAMCHECK LX to
your computer because each RAMCHECK LX has a different USB device identity
code. Once your computer installs the driver for each RAMCHECK LX then you will
not get the "New Hardware Found" anymore unless you uninstall the USB
Drivers.